
How to Create a Listing
Learn how to create a new listing on BuySellBid so buyers can find and purchase your items quickly and easily.
1. Open the Create Listing Page
- Sign in to your BuySellBid account.
- Make sure your account is approved as a seller.
- From the main menu, click Sell.
- You will be taken to the Create Listing page.
Each item you want to sell needs its own listing. Repeat these steps for every product or auction you want to create.
2. Choose the Listing Setup Process
Depending on how the site admin has configured the platform, you may see one of the following setup flows:
- Full Listing Process – a step-by-step flow that usually includes Details, Settings, Shipping, and Preview.
- Quick Listing Process – a simplified flow with fewer steps, typically Setup and Preview.
The options available to you are controlled by the site administrator, so you may see either one or both of these flows.
3. Select the Listing Type
When you start a new listing, choose how you want to sell your item:
- Auction – buyers place bids and the highest bidder at the end of the auction wins, subject to any reserve or buy out settings.
- Product (Fixed Price) – buyers purchase the item at a set price, similar to a standard online store.
Select the option that best matches how you want to sell the item. Some advanced settings (like reserve price or stock levels) will change depending on which type you choose.
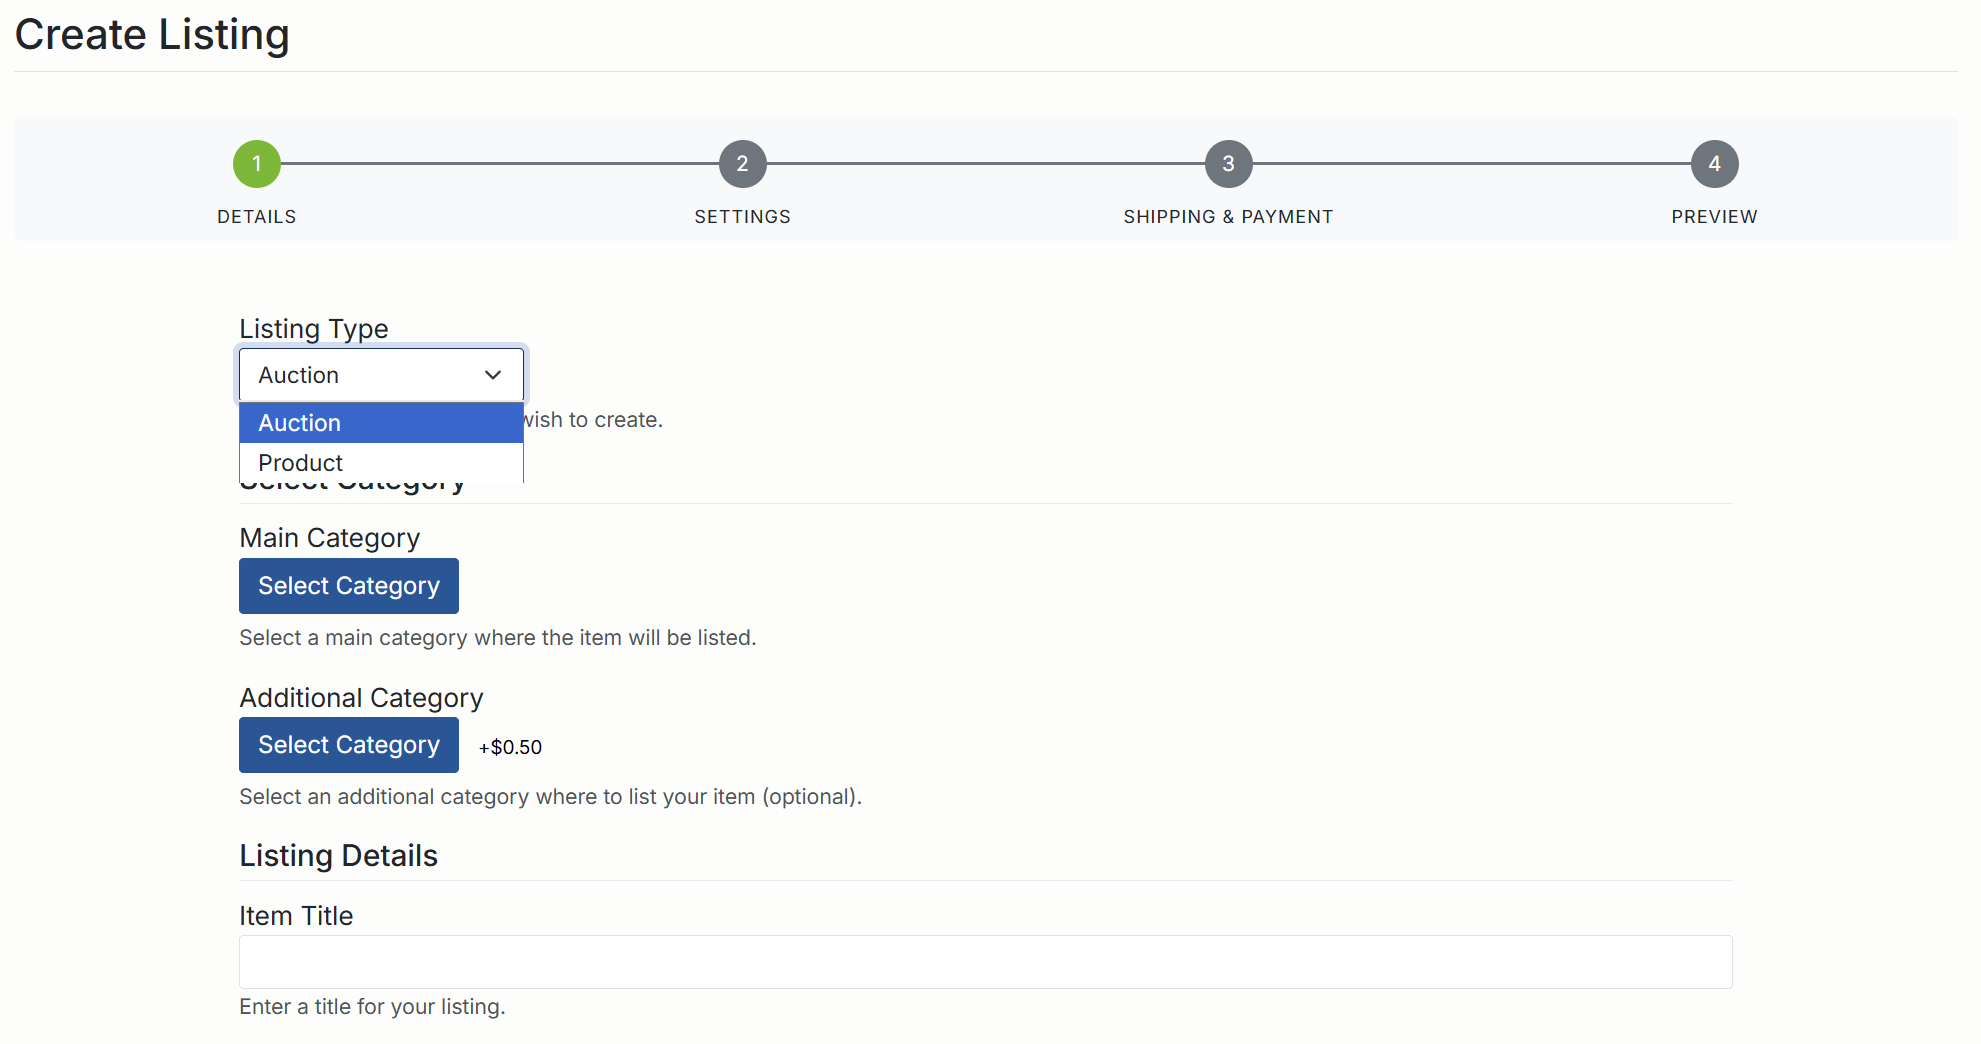
4. Choose Categories
To help buyers find your listing, select the most accurate category:
- Main Category – the primary category where your listing will appear.
- Additional Category (optional, may be a paid feature) – a second category to increase visibility.
Your item can only be placed in one additional category. Choose categories that best match what you are selling rather than simply choosing where you think it will get the most views.
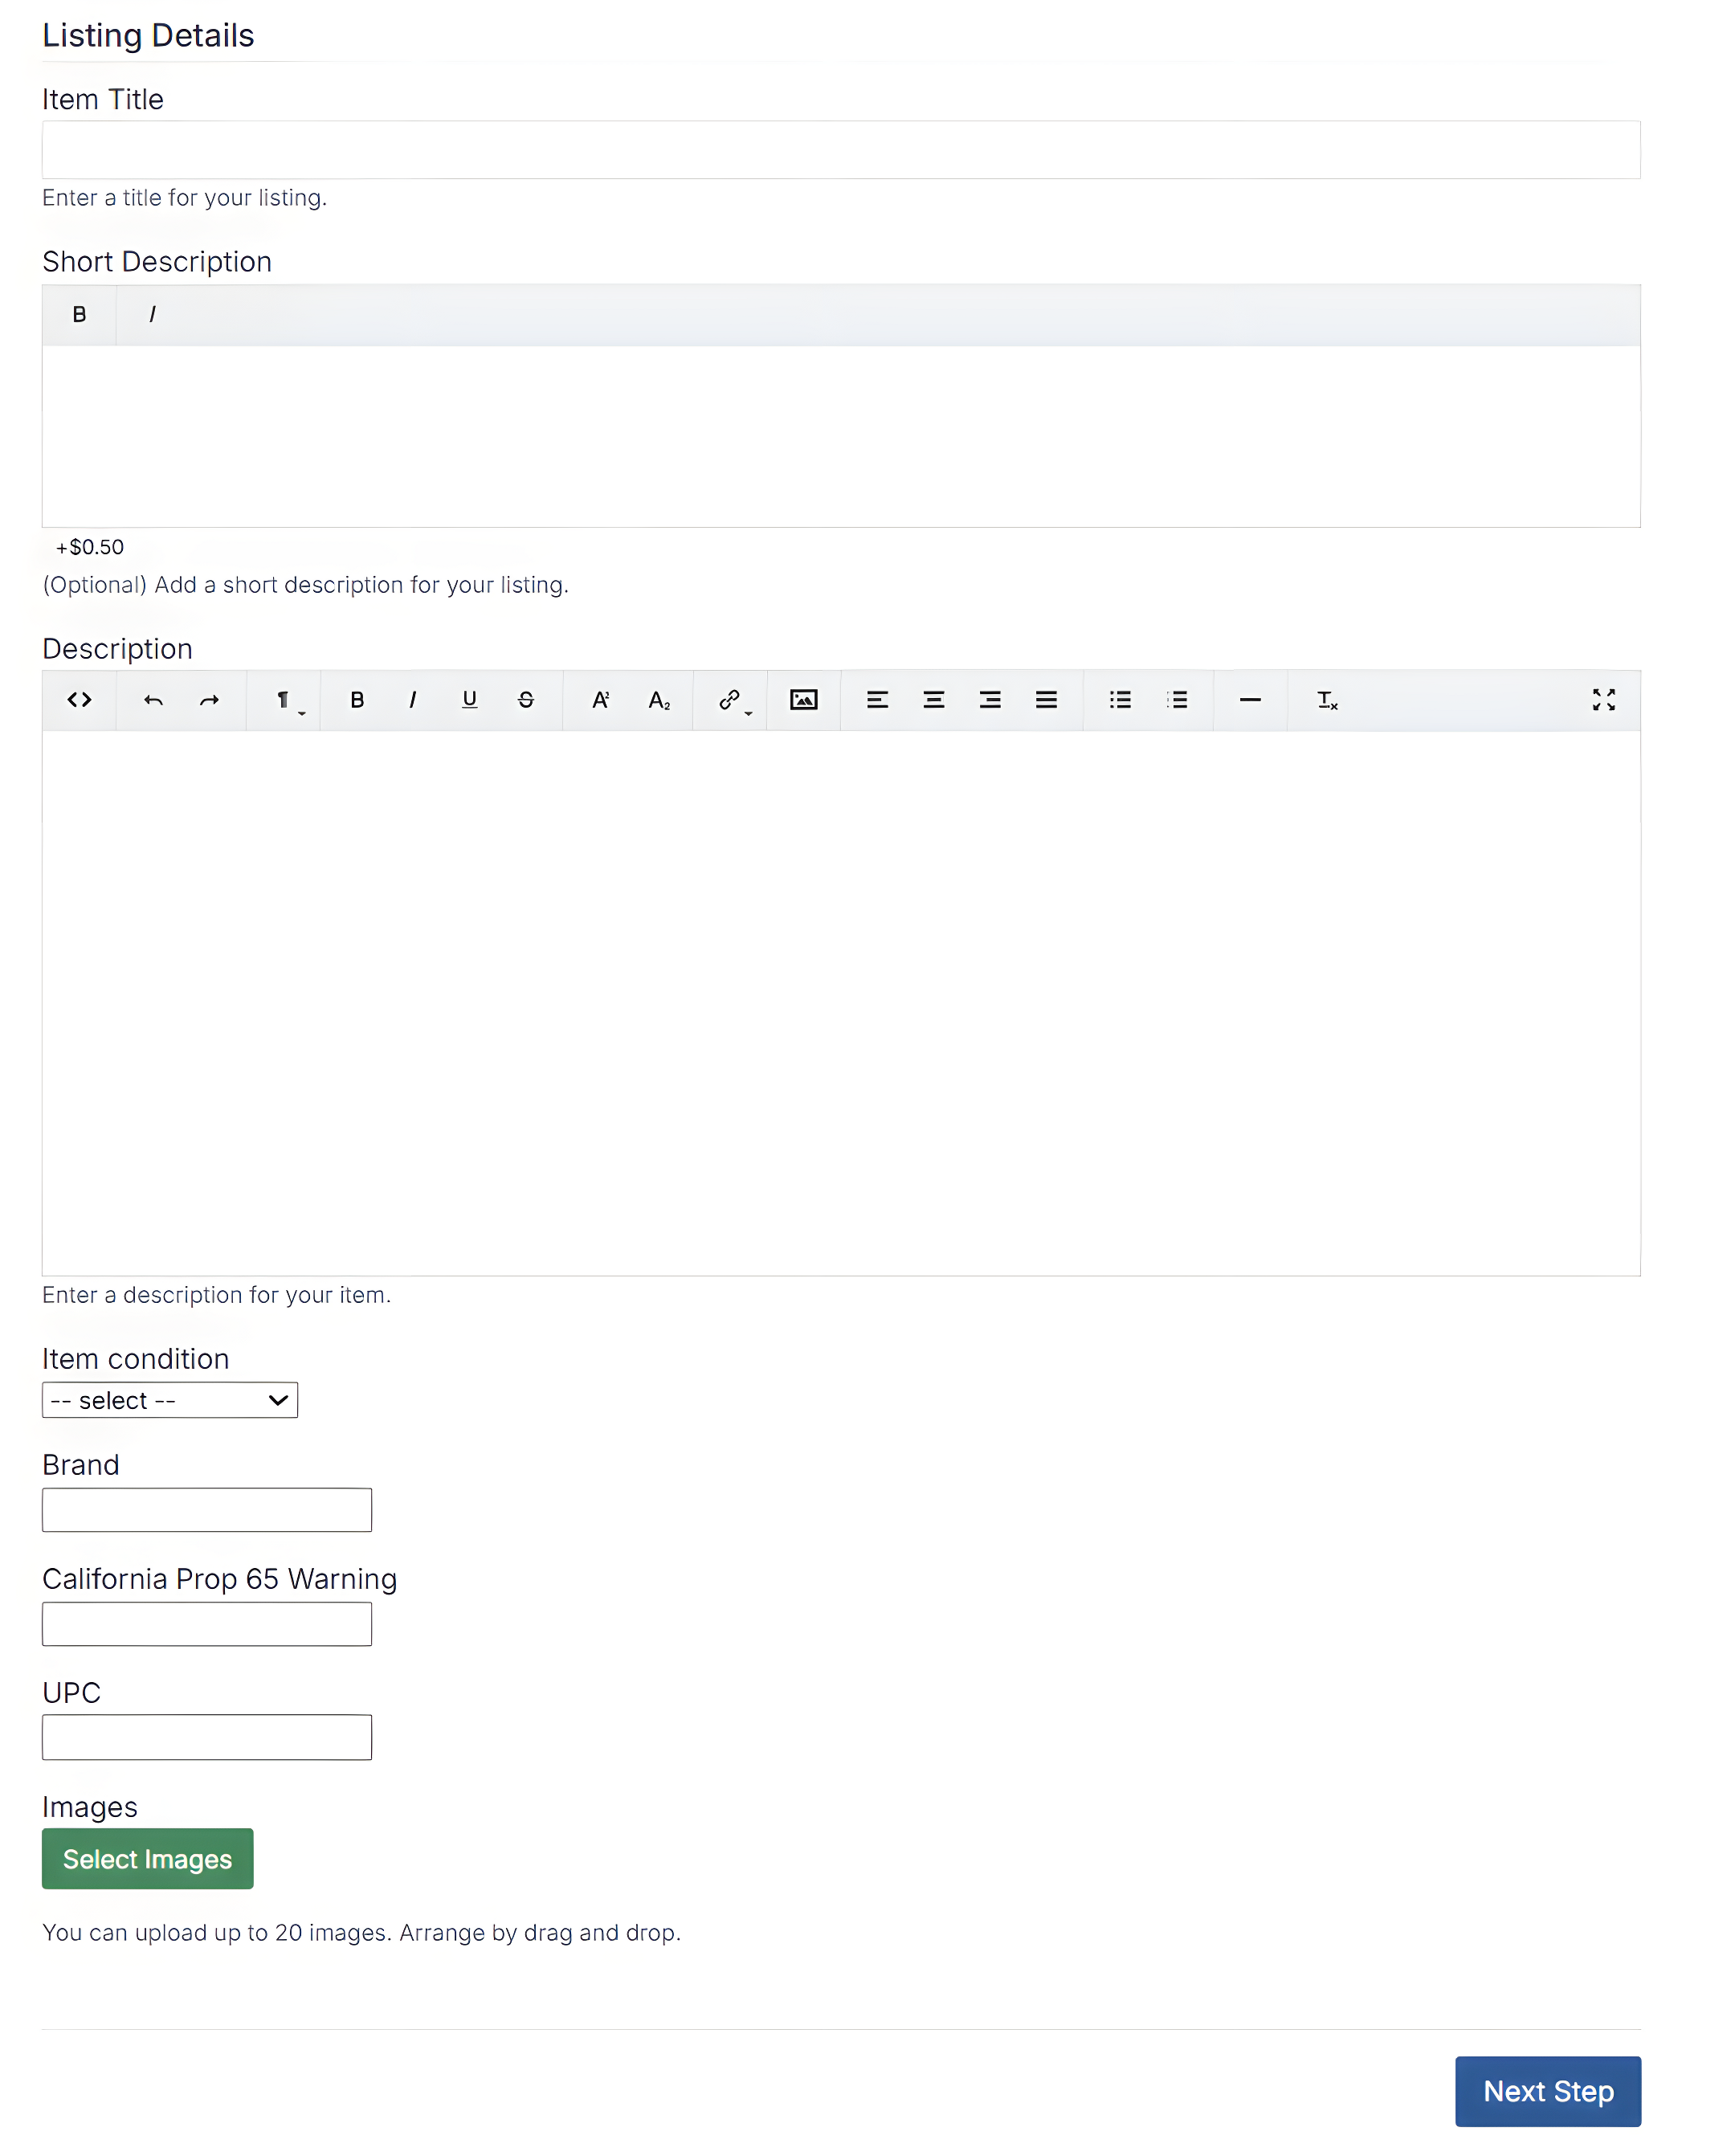
5. Enter Listing Details
In the Listing Details section, provide clear and accurate information about your item:
- Title – a short, descriptive title (brand, model, key feature).
- Short Description – a brief summary that may appear in search results or list views.
- Description – a full description including condition, size, specifications, and any important notes about the item.
- Custom Fields – extra fields defined by the admin (for example color, size, brand, or other attributes). Fill in anything that applies to your item.
- Images – upload clear photos. Some images may be free and additional images may incur a fee, depending on site settings.
- Media (if enabled) – add videos or other media to showcase your item.
- Digital Downloads (if enabled) – upload files if you are selling digital goods.
Use high-quality images and an honest description to build trust and reduce the chance of disputes or returns.
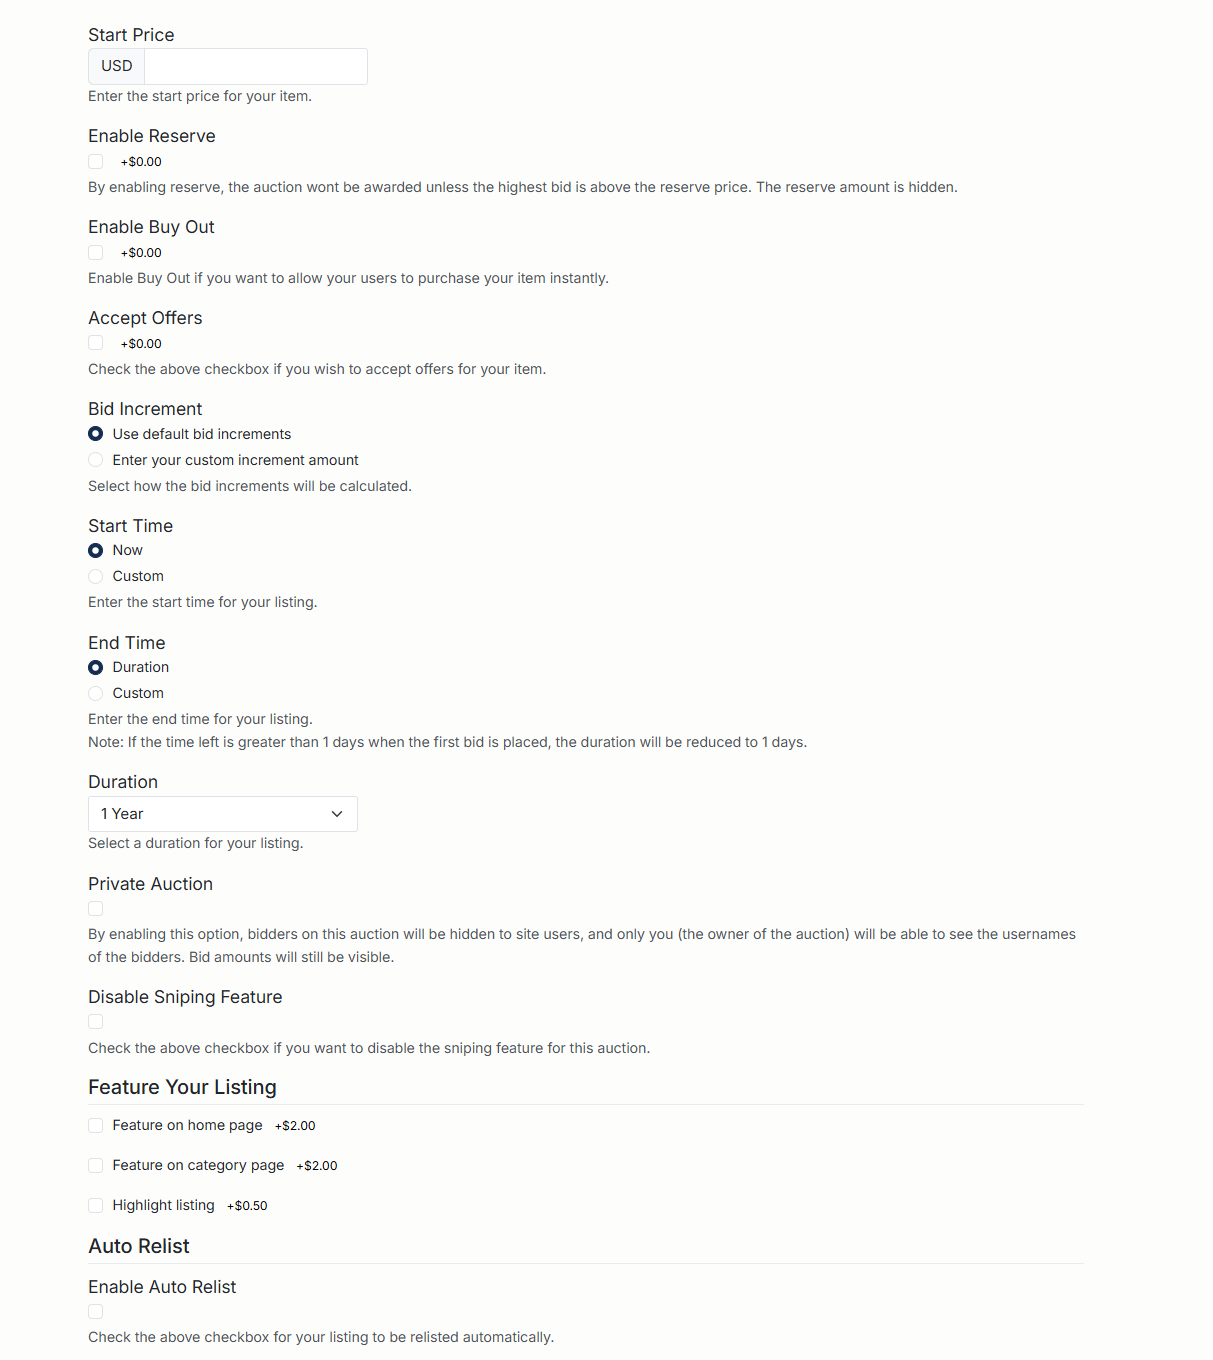
6. Configure Listing Settings
The Listing Settings section controls how your item is sold. The exact fields vary based on whether you chose an auction or product listing and how the site is configured. Common options include:
- Price or Start Price – the amount you want to charge or start bidding from.
- Reserve Price (optional, may be paid) – the minimum price you are willing to accept.
- Buy Out / Buy Now – lets buyers purchase immediately at a set price.
- Accept Offers – allow buyers to send offers instead of paying the full price.
- Quantity / Stock Levels – the number of items available or stock variations.
- Start & End Time – schedule when the listing starts and ends, or choose a duration.
- Tax – apply tax if required and choose the applicable tax type.
- Relist Options – automatically relist the item if it doesn’t sell.
- Featured Options – upgrade your listing to appear in featured sections (may incur extra fees).
Review each setting carefully. Fees may apply for some options, and they can affect how and when your item sells.
7. Shipping and Delivery
In the shipping section (if enabled on your site), configure how you will deliver the item:
- Select shipping methods and services you are willing to use.
- Set shipping costs or enable calculated shipping if available.
- Specify handling time and any limitations (for example, countries you will or will not ship to).
Providing clear shipping information up front reduces buyer questions and helps avoid misunderstandings after the sale.

8. Preview and Submit Your Listing
- Use the Preview step to review your listing as buyers will see it.
- Check the title, price, images, shipping details, and all settings.
- Make any necessary changes before final submission.
- When you are satisfied, click the button to List or Submit your item.
After submission, your listing will appear on the site according to its start time and any approval rules your site administrator has set.
9. Tips for Successful Listings
- Use clear, high-resolution photos from multiple angles.
- Write honest, detailed descriptions and mention any flaws.
- Choose accurate categories so the right buyers can find your item.
- Set realistic prices and consider using offers or buy out options.
- Respond quickly to buyer questions and messages.
Following these steps will help you create professional listings that attract more views and increase your chances of making a sale on BuySellBid.